According to my mom, my first word as a baby was “cookie”. Somehow, being all grown up now, I’m not surprised. I have a major weakness for cookies. My obsession with all things buttery-sugary related extends beyond any normal food vice that I might have – like good pasta, Mexican food in Connecticut, or a vanilla latte – above all such impressive indulgences, cookies reign supreme. Soft and chewy on the inside, crispy on the outside, dense and full of chocolate or oatmeal or almonds, buttery and doughy, oh, they are a wonder.
That is, of course, if the cookie is made right. And that’s what makes me sadder than anything else: when I see a delicious looking cookie sitting in a glass case at a coffee house or bakery, order it up, and find myself disappointed with something dry, pasty, flavorless, or otherwise lacking. There’s just no excuse.
Until about two years ago, I never really made my own. They were always…uninteresting. I left baking to one of those precise arts I didn’t understand. Then I met Becky (Becky, are you reading this? ;) ), my roommate in CT before Greg and I moved in together. She’s a pretty amazing cookie baker and taught me a trick or two. That got me interested: could I make the ultimate cookie?
There are indeed a few things that always help in making cookies, no matter what form:
1) Start with really soft butter – as in, leave it out the night before. Cream the butter. Cream the butter. Cream it a little more. Keep creaming!!
2) Then add sugar. Cream the butter and sugar together. Longer. Longer. Keep creaming. Go on: cream some more. Okay.
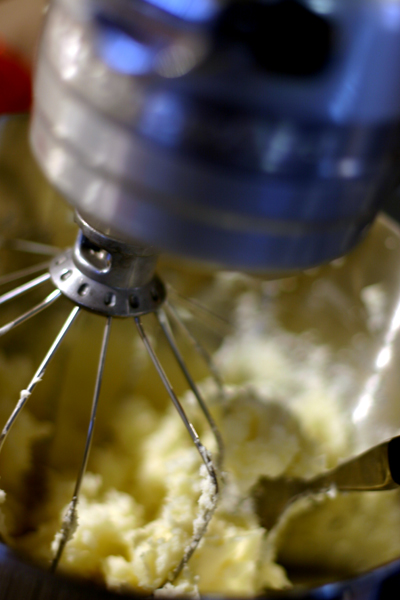
Properly creamed butter becomes light and airy, and it takes on a subtle yellow color. When creamed with sugar, the resulting mixture should be smooth and fluffy. If you feel a bit between your fingers, there shouldn’t be any grittiness – if there is…keep creaming… I usually let my butter and sugar cream for 5-10 minutes in the mixer.

3) Eggs should be warm. Room temperature. This allows the butter to stay creamy and mix with the eggs
4) Add the eggs one at a time. There’s only so much egg a mixture can hold before it separates. Then vanilla.
5) Sift the flour. It does help!
6) I recently learned this one: weigh the flour, don’t measure it. 1 cup = 120g for white flour, =140g for wheat flour. I was shocked when I saw how much my cup measure varied, and I found that my cookies started coming out so much better.

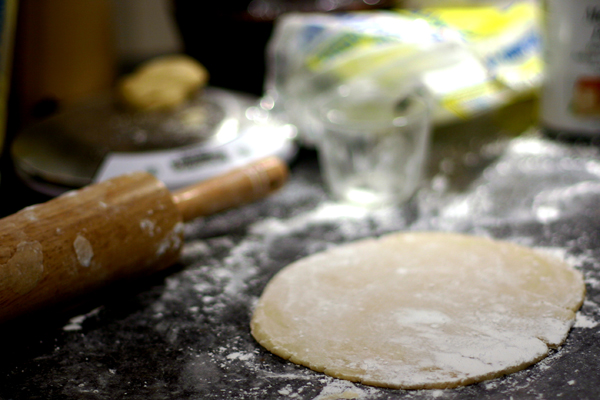
Okay, I admit, I’m usually in much to big of a rush to follow this step, but “they” (the cheffing powers that be), claim this is the secret to a crispy cookie, in the same way it is the secret to a flaky pie crust:
7) Refrigerate the dough for several hours prior to baking
And finally
8) Keeping them the same size really does help, because they cook evenly
9) A good cookie sheet is the key to not burning the bottoms

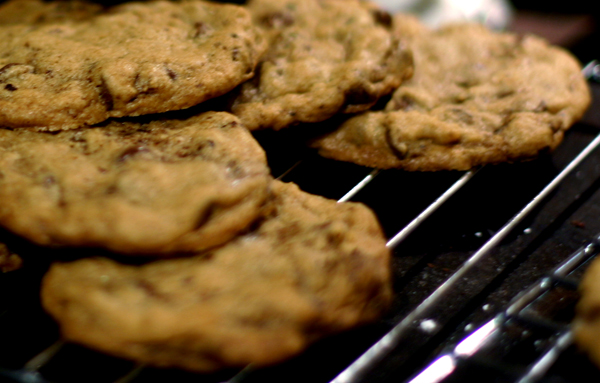
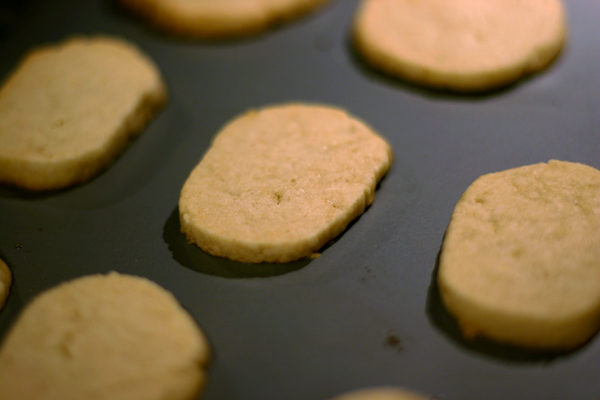
Here are my two absolute favorite cookie recipes, neither of which I can take any credit for. The chocolate chip cookie recipe is truly amazing without fail and usually exactly what I am craving in a cookie: a dense, moist and chocolatey center with crisp edges. The sugar cookies from Alton Brown are very simple. They remind me of a shortbread more than a sugar cookies: light on the sugar, heavy on the butter.
Alton Brown's Basic Sugar Cookie Recipe
Neiman Marcus Chocolate Chip Cookie Recipe

I usually double or triple the espresso powder for the chocolate chip cookies, and I always double or triple the vanilla for any other kind of cookie. I also add 1 tbsp milk per egg in the recipe - this lets the cookies be a little more shelf stable (ie, not dry out) if you are using butter instead of shortening (which you should!!)
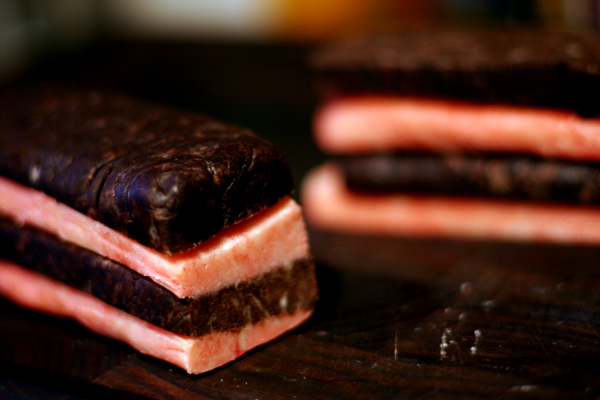
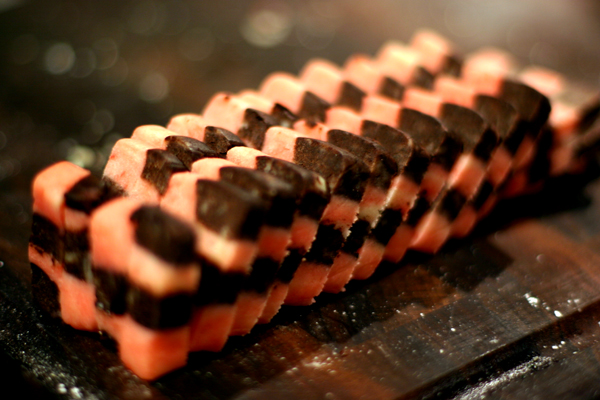
The checkerboard cookies are made by splitting a batch of basic sugar cookie dough in half. The first half gets lots of cocoa powder. The second half gets mint extract. And then, with hours of chilling in between each, the logs are squared off, cut, stacked, cut again, frozen, and sliced.

The frosting is very simple, as well. I use dried egg whites, available at crafts stores like Michaels, wipped with water (1tsp powder : 1 tbsp water + dash of cream of tarter) until soft peaks form. Add in powdered sugar a half cup at a time. It forms a room-temperature stable fluffy frosting, that dries relatively hard with a nice crunch.

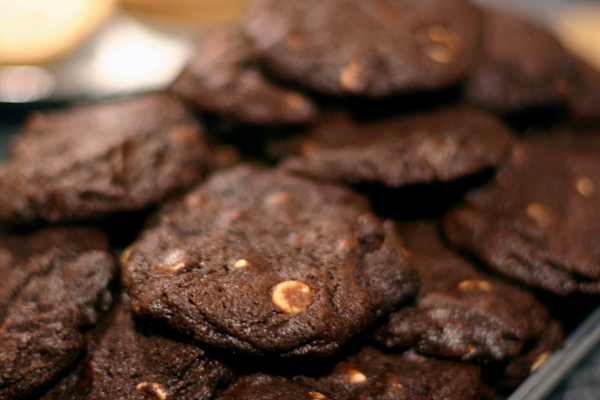
Also pictured are chocolate with white chocolate chip cookies, originally from the Nestle Tollhouse recipe + Becky’s substitution (minus ½ cup flour, plus 1 cup unsweetened cocoa powder, no nuts and white chips instead of semisweet).

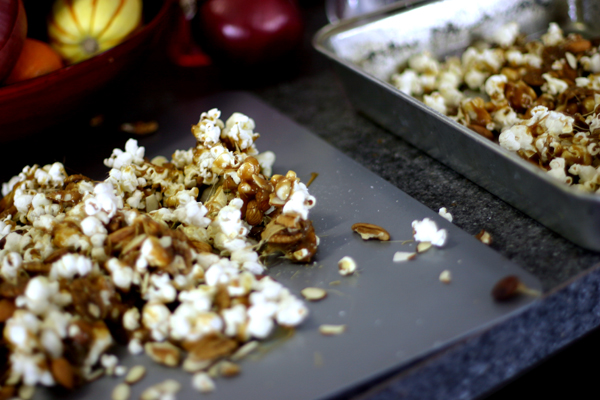
Lastly, I tried my hand at making caramel corn (sometimes you just get the craving, right?). This was easier than baking cookies, though it does come with an insurance risk. Measure the ingredients, let it boil for 15 minutes and pour molten liquid over pre-popped popcorn with almonds and pecans on a baking sheet. I would recommend you avoid pouring it over the index finger on your right hand, as I did, because it the pot of caramel is really quite hot. The caramel recipe is pretty simple:
2 sticks butter
2 cups packed brown sugar
1 cup light corn syrup

- Boil until it forms a crunchy thread in cold water; add 1 tsp baking soda, stir vigorously and pour over popcorn
And after I finished baking all of these cookies (it literally took all day Saturday), I cleaned up and put the few excess things in the still-mildly-hot oven, so that I could leave Tori out and about while I went and delivered cookies to our upstairs tenants. This is what I found when I returned:
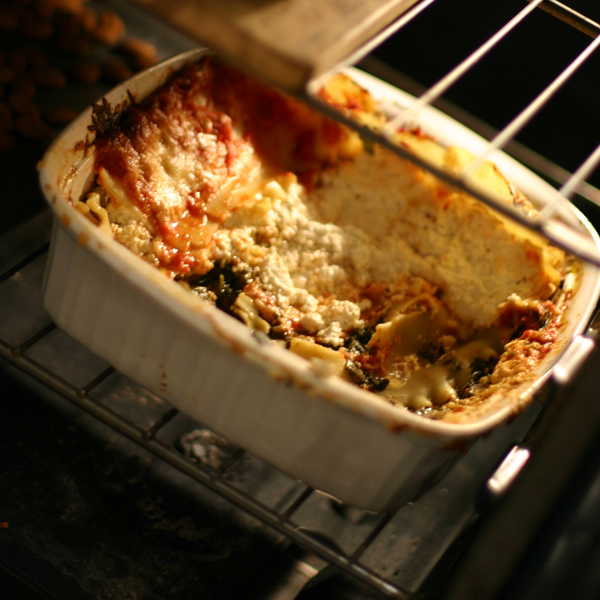
The oven door had closed on her, though somehow she escaped “unharmed” (if 4 hours of nearly passed-out whining counts as harmless), with about $30 worth of pesto lasagna in her belly. At least she didn’t get the cookies.